Hello! I hope you’re doing well today – or at least in this moment.
I’m excited to share The Living Room Floor. Oh yes, with a capital T. These hickory floors are beauties. Although we do kinda miss being able to see if the basement lights on our through our floor. Now we have to actually walk down there to check.
Let’s recap, shall we?
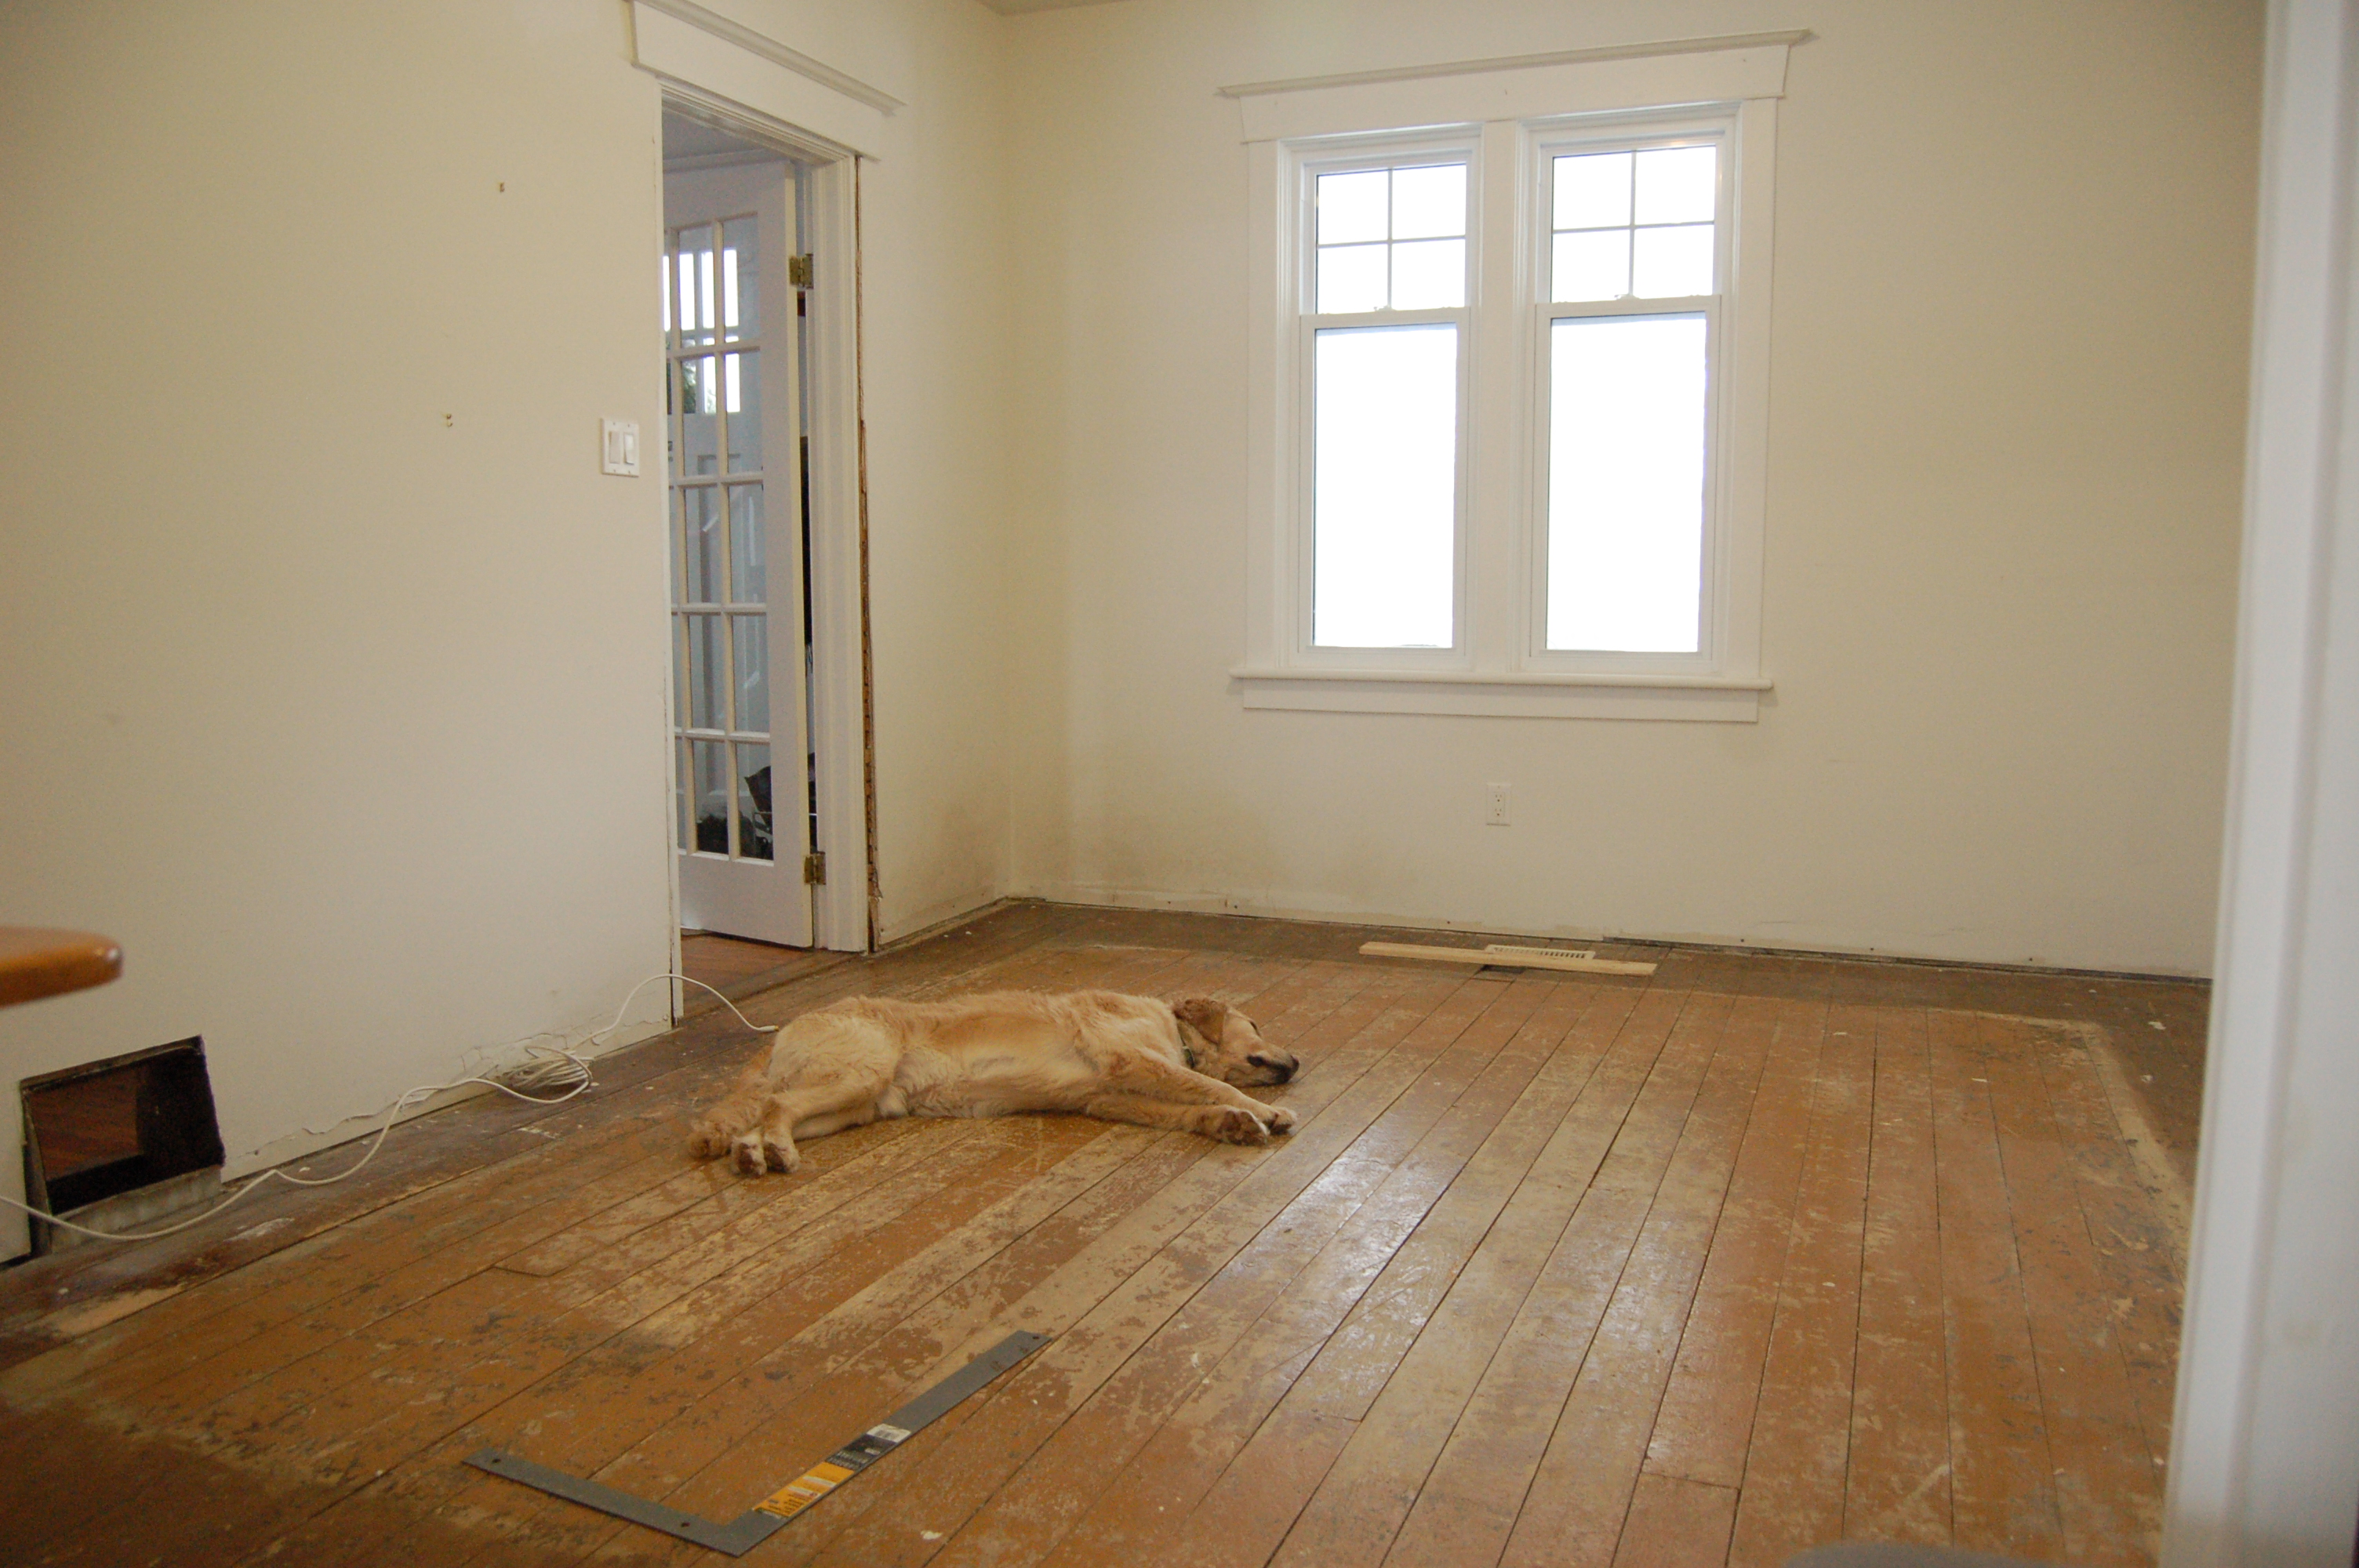
As you can see we started from the old original floors – which were not level. These floors had been used as a subfloor for the last several decades. Under the floor is a brick pillar helping to hold up the house. It is one solid pillar (good) and everything around it has settled (not so good). So basically, we have a hump in our floor about 2.5 feet into the space (about where Digby’s back legs are in the photo above). It’s like walking up a mini ramp. In order to reduce this hump, and get us to level with the adjoining dining room floor, we installed new subfloor.

This was pretty easy stuff and took not too much thinking but certainly a bit of time. Including a Home Depot van rental on a Saturday to get the OSB subfloor to our house. On a Saturday! Ever tried that? We didn’t start laying the subfloor until about 3pm. Yikes….Anywho, we finished that step and quickly added wax paper as suggested in the install instructions by stapling it down in slightly overlapping strips.

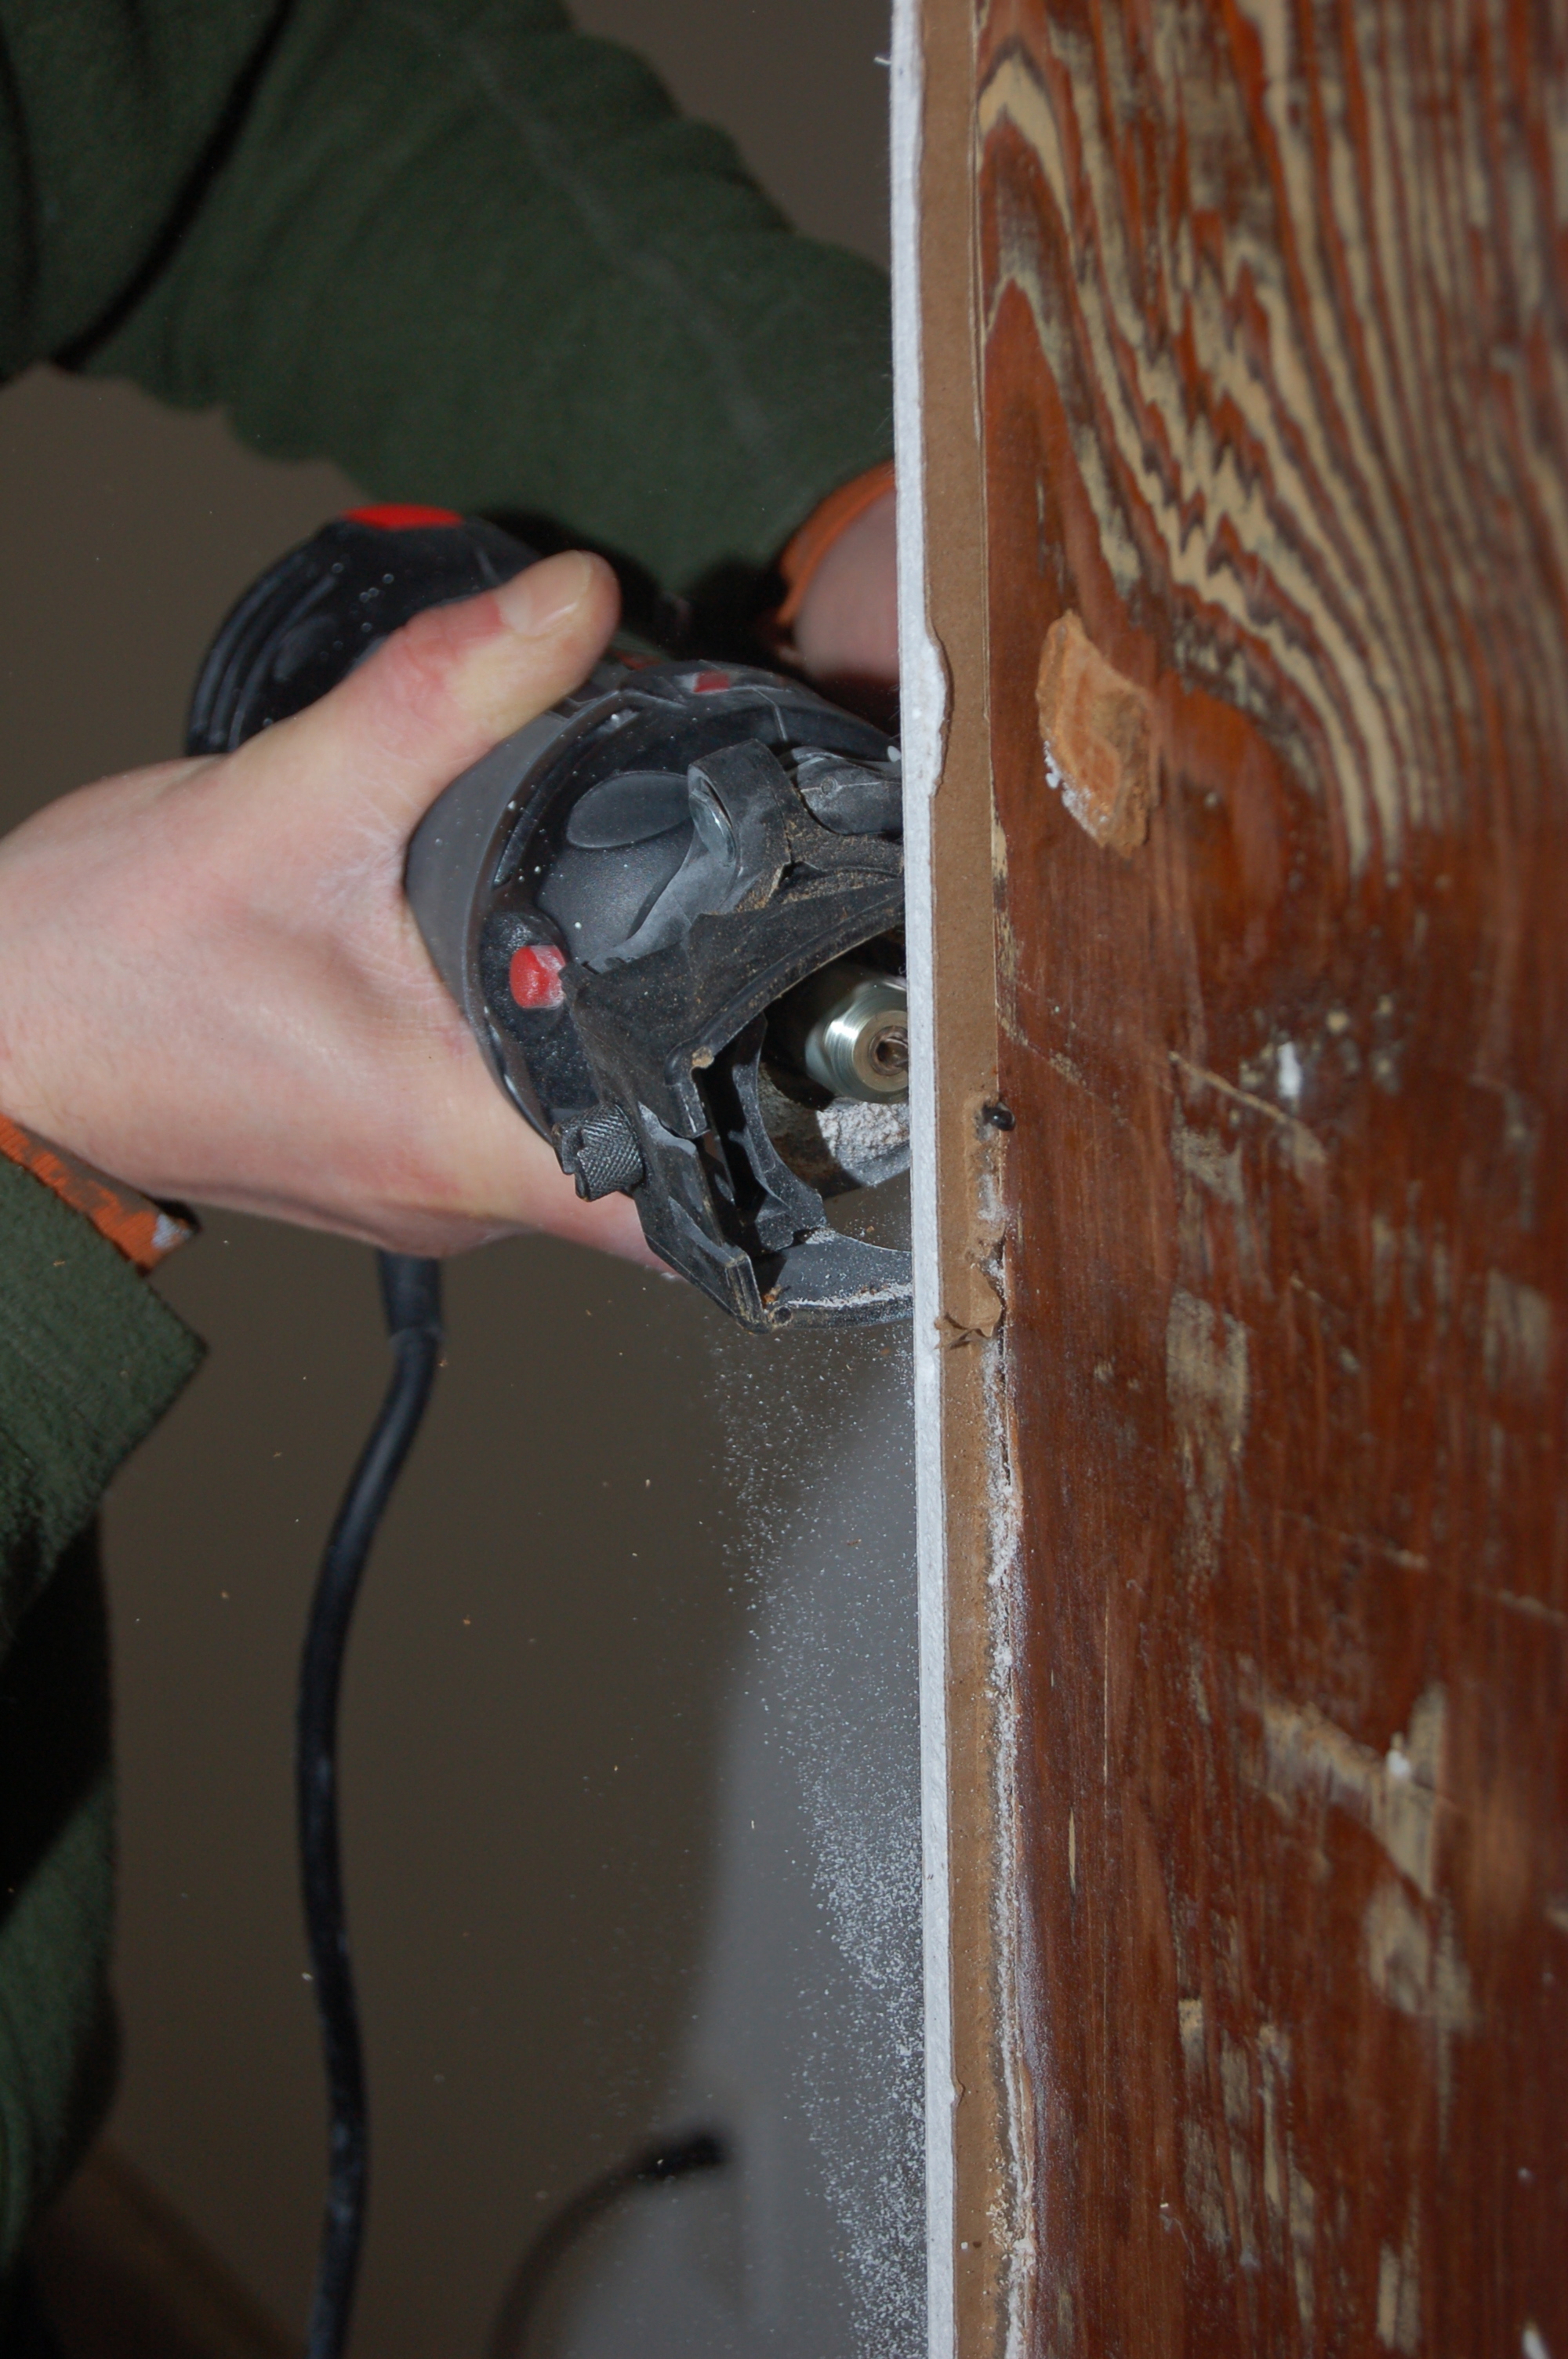
While we had no baseboards in this room to remove, we do have a double doorway into the dining room. We removed the trim around and inside this doorway with a combination of prying and then using the Rotozip to trim the drywall overlap. Such a great tool!
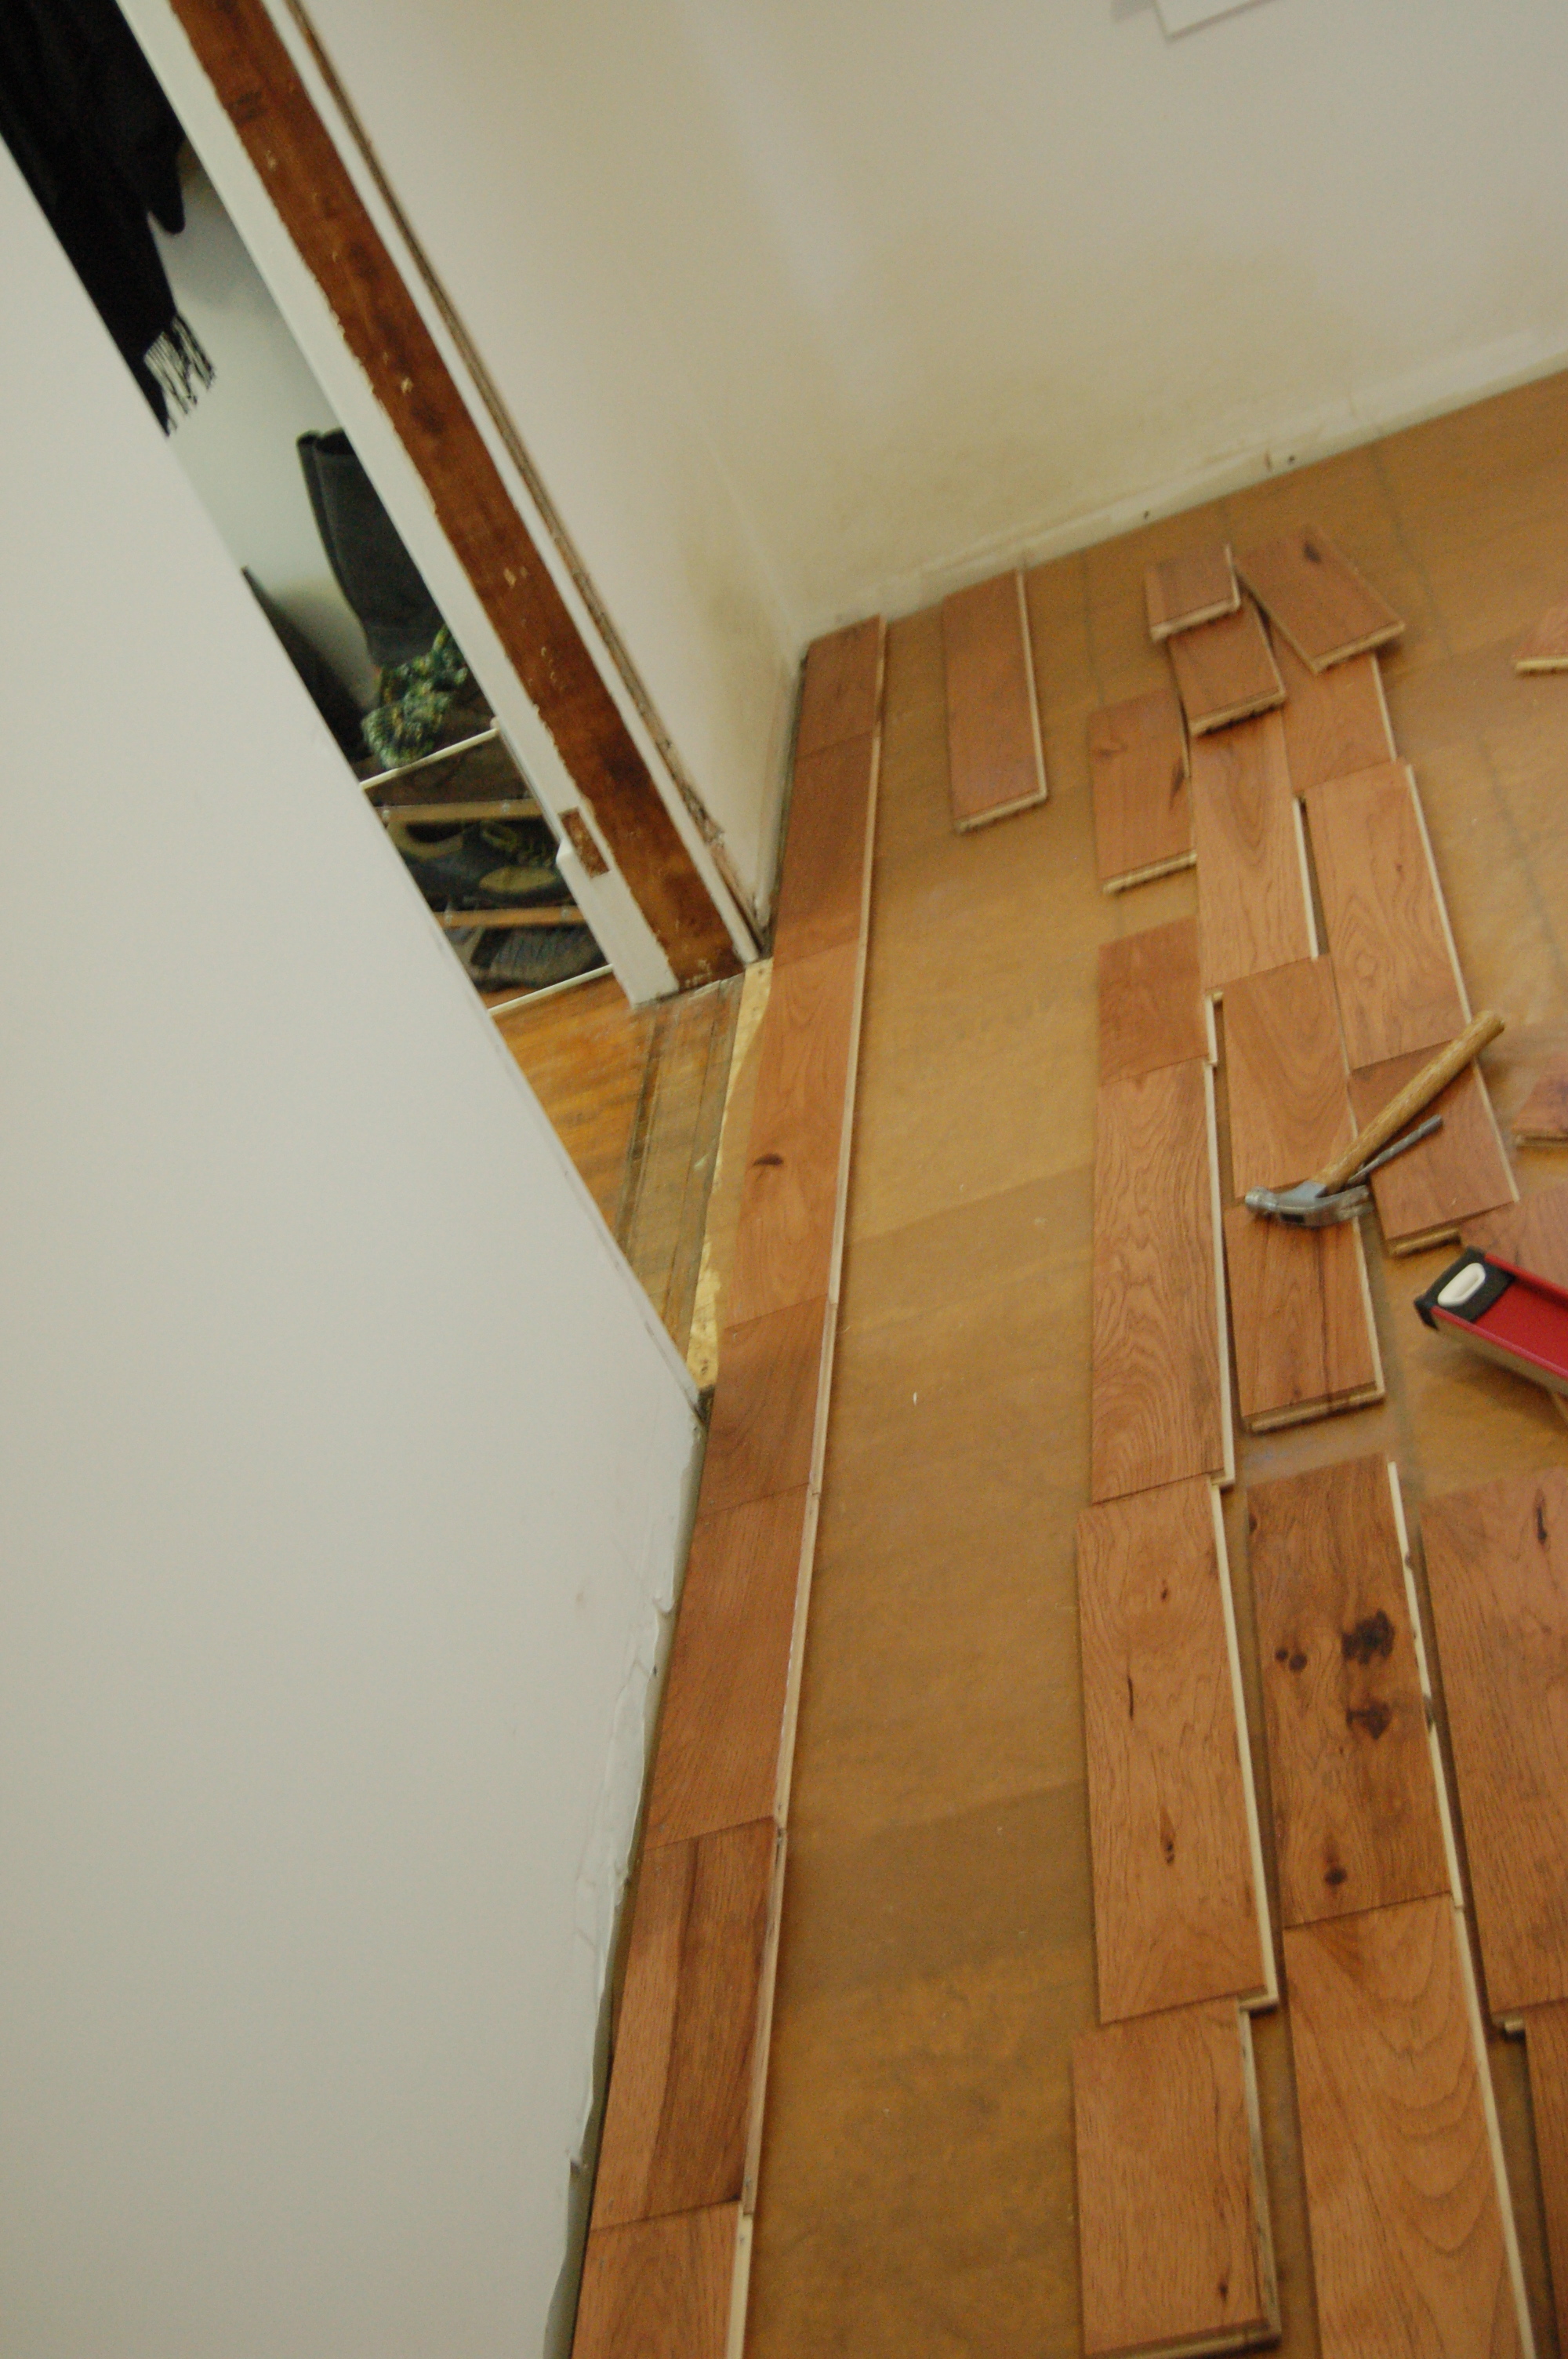
 Back to floors: Because of the hump in the floor, getting the first few rows in straight and tight to one another was quite challenging. The planks are 4 1/4 ” each, so luckily we only had to face nail the first row, then it was nailer all the way! Our hickory planks were of the rustic variety – variated in colour and often in shorter lengths, anywhere from 8″-4.5′. For those first few rows we needed to use shorter lengths more often to accomodate the hump. There were no instructions on this, it’s something we figured out as we went.
Once the first 6 rows were finished things really picked up. As in, it took us almost as much time to do the rest of the floor as it did to do the first 6 rows;)

We kept organized by using a tray, placed on a tea towel for easy gliding. This kept all the tools we needed at hand right next to us as we slid down the line
The final 5 rows needed to be face nailed into place. I wasn’t worried about this look because this area is pretty much covered by furniture the whole time.
.
And done! That’s a shot of Adam stretching a little after finishing the last couple of rows. Oh wait – not done:( The final row needs to be ripped down to size (ripping being cut lengthwise) and we don’t own the right saw for that. So we’re waiting until friends visit in a couple of weeks to get that last little row completed.
Feels so good to have floors underfoot without holes, nails or splinters sticking up. Amazing!
What one project have you done that’s made a huge difference for your space?

One thought on “Hickory Dickory Dock….”